
Drying is the most critical step in home seed saving. Seeds that go into storage with residual moisture will develop mould, lose germination capacity faster, or fail entirely. The goal is to reduce internal moisture to the point where the seed is stable — dry enough that it makes a clean snap when bent rather than bending without breaking.
This article covers the methods most practical for home use in Poland, where late-summer humidity can be relatively high and indoor conditions vary by housing type.
Why thorough drying matters
Vegetable seeds harvested in late summer — tomatoes, peppers, cucumbers, courgettes — are surrounded by moist fruit tissue. Even seeds from dry pods, such as beans or peas, contain more moisture at harvest than they will after several days of curing. That initial moisture, combined with warmth and closed storage, creates conditions for fungal growth.
Commercially processed seeds are dried to moisture content levels around 5–8% before packaging. Home gardeners do not need laboratory precision, but the principle holds: the drier the seed before it goes into a closed container, the longer it will remain viable.
The snap test: A fully dried bean or pea seed should snap cleanly in half when bent. If it bends without breaking, it still contains too much moisture for safe storage.
Method 1: Paper towel drying (for wet seeds)
This method is best for tomatoes, cucumbers, peppers and courgettes — any seed harvested from moist fruit tissue.
- Extract the seeds from the fruit. For tomatoes and cucumbers, fermentation cleaning (explained separately) removes the gel coat before drying.
- Rinse seeds under cold water to remove any remaining fruit pulp. A fine-mesh sieve is helpful here.
- Spread seeds in a single layer on a sheet of paper towel or newspaper. Do not use kitchen roll types with heavy embossing — seeds dry faster on flat, absorbent paper.
- Place the paper in a warm, dry indoor location with airflow. A table near an open window in late summer works well. Avoid direct sunlight, which can overheat small seeds.
- Leave for three to seven days, turning the seeds once daily with a finger to prevent them sticking permanently to the paper.
- Seeds are ready when they no longer feel cool to the touch (a sign of evaporation) and separate cleanly from the paper.
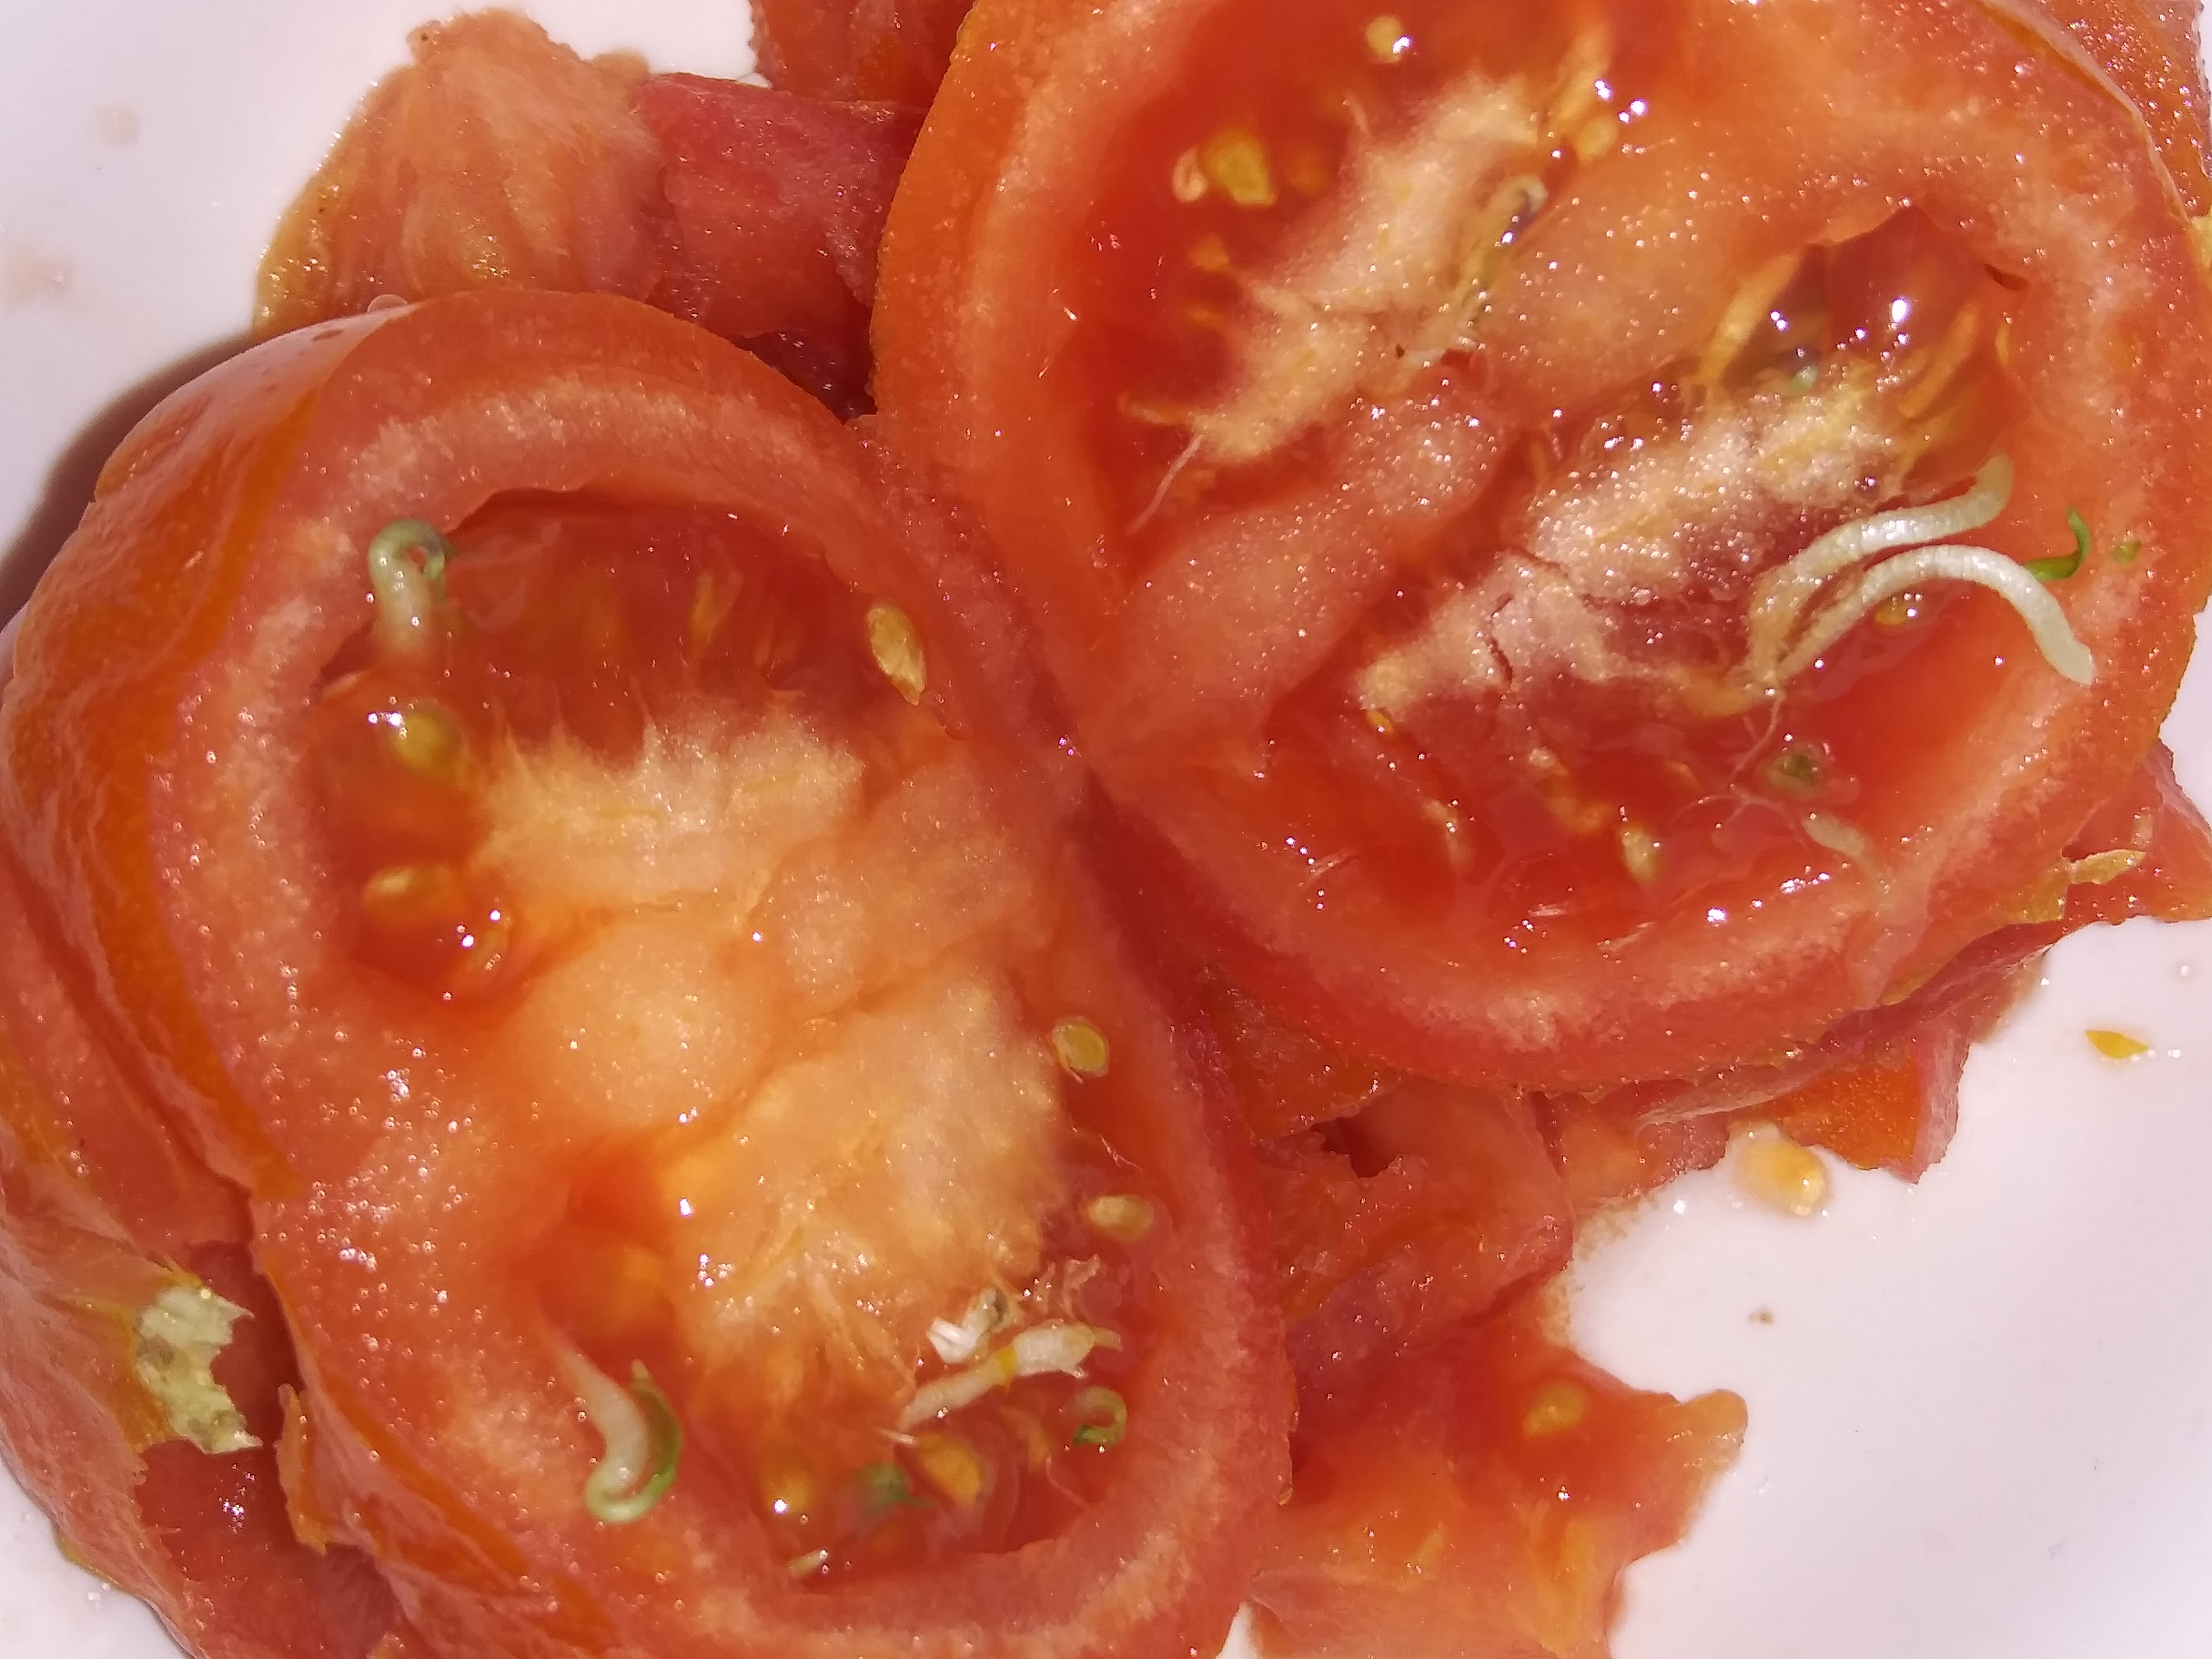
Tomato seeds separated from fruit pulp. Source: Wikimedia Commons (CC BY-SA 3.0)
Method 2: Mesh rack air-drying (for pod and capsule seeds)
Beans, peas, dill, fennel, caraway and other plants that form dry pods or seed heads can be dried on the plant, then spread on a mesh rack or hardware cloth indoors.
- Wait until the pod or seed head has turned brown and dry on the plant. In Poland this typically means waiting until September for summer-sown beans, or mid-October for climbing varieties.
- Harvest the pods or cut the seed heads and bring them indoors. Avoid harvesting after rain or heavy morning dew.
- Spread individual pods in a single layer on a fine mesh rack. An old curtain net or a purpose-made drying rack used for herbs works well.
- Place the rack in a well-ventilated room. A cellar or pantry that is not damp is suitable; the temperature does not need to be high — 15–20°C is fine.
- Leave for two to three weeks. Pods will become brittle and seeds will rattle freely inside when the drying is complete.
- Shell the dried pods over a bowl, removing any papery material. Small seeds can be cleaned by gentle blowing or by tilting the bowl near a fan — heavier seeds fall, lighter chaff blows away.
Method 3: Warm-room drying for humid conditions
In years when Polish August and September are particularly wet — relative humidity consistently above 70% — an unheated room may not dry seeds quickly enough. Mould can appear within a week on moist seeds left at room temperature in humid air.
In those conditions, a slightly different approach is more reliable:
- Use a warm room — typically a kitchen or bathroom — where temperatures are consistently around 22–25°C.
- Place seeds on paper in this warmer environment for the first three to four days, which speeds initial moisture loss.
- After this initial phase, move seeds to a cooler, drier location to finish.
- A dehydrator set to the lowest temperature (around 35–38°C) can be used for the first stage if available, though this is not necessary under normal summer conditions.
Temperature limits: Heat above 40°C can reduce germination rates in sensitive seeds. The warm-room approach described here stays well below this threshold.
Drying times by vegetable type
| Vegetable | Seed type | Drying method | Typical time |
|---|---|---|---|
| Tomato | Wet (fermented) | Paper towel | 5–7 days |
| Cucumber | Wet | Paper towel | 5–7 days |
| Pepper | Semi-dry | Paper towel | 5–10 days |
| Bean (dwarf, runner) | Pod | Mesh rack | 2–3 weeks |
| Pea | Pod | Mesh rack | 2–3 weeks |
| Squash / courgette | Wet | Paper towel | 7–10 days |
| Dill | Seed head | Mesh rack | 1–2 weeks |
| Sunflower | Head | Warm room / rack | 2–4 weeks |
Common mistakes
Storing before fully dry. The most frequent cause of seed failure in home storage is placing seeds into sealed containers before they have fully dried. Even a few days of premature sealing can create enough condensation to cause mould.
Drying in direct sunlight. Strong sunlight and associated heat can damage seed embryos. Drying in indirect light or light shade, indoors or in a sheltered outdoor location, is more reliable.
Leaving seeds on paper too long. Once seeds are dry, they will begin to absorb moisture from humid air if left on absorbent paper in a humid room. Transfer to a paper envelope or sealed container once drying is complete.
Testing whether seeds are dry enough
For most home purposes, two practical tests are sufficient:
- The snap test (for large seeds): Bend the seed. A dry bean or pea snaps; a moist one bends.
- The slide test (for small seeds): Place a small group of dry seeds on a ceramic plate and tilt it. Fully dry seeds slide freely; moist seeds clump or stick.
Once seeds pass these tests, they are ready for labelling and storage. The following articles cover both stages in detail.
References: Ashworth, S. (2002). Seed to Seed. Seed Savers Exchange. — General reference on seed saving methodology applicable to European growing conditions.